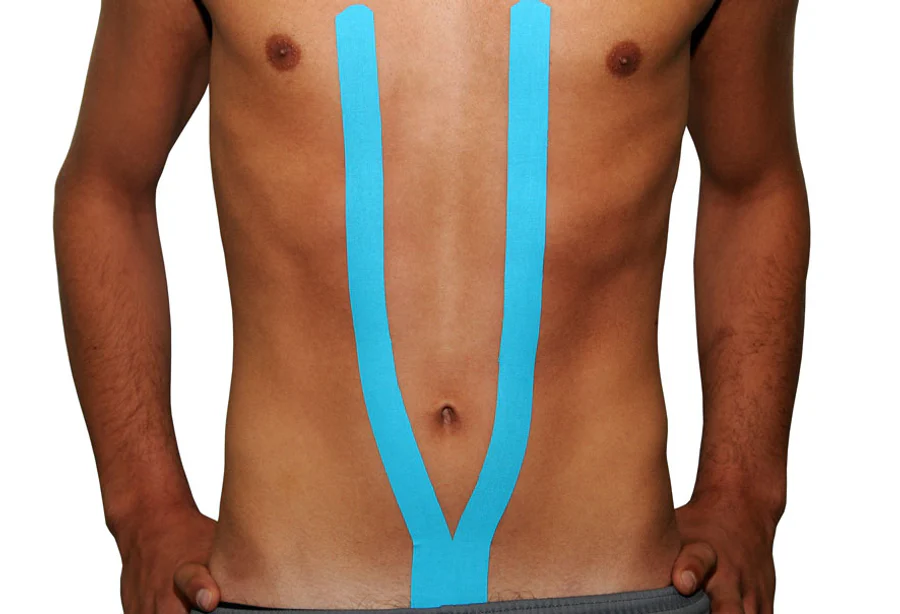
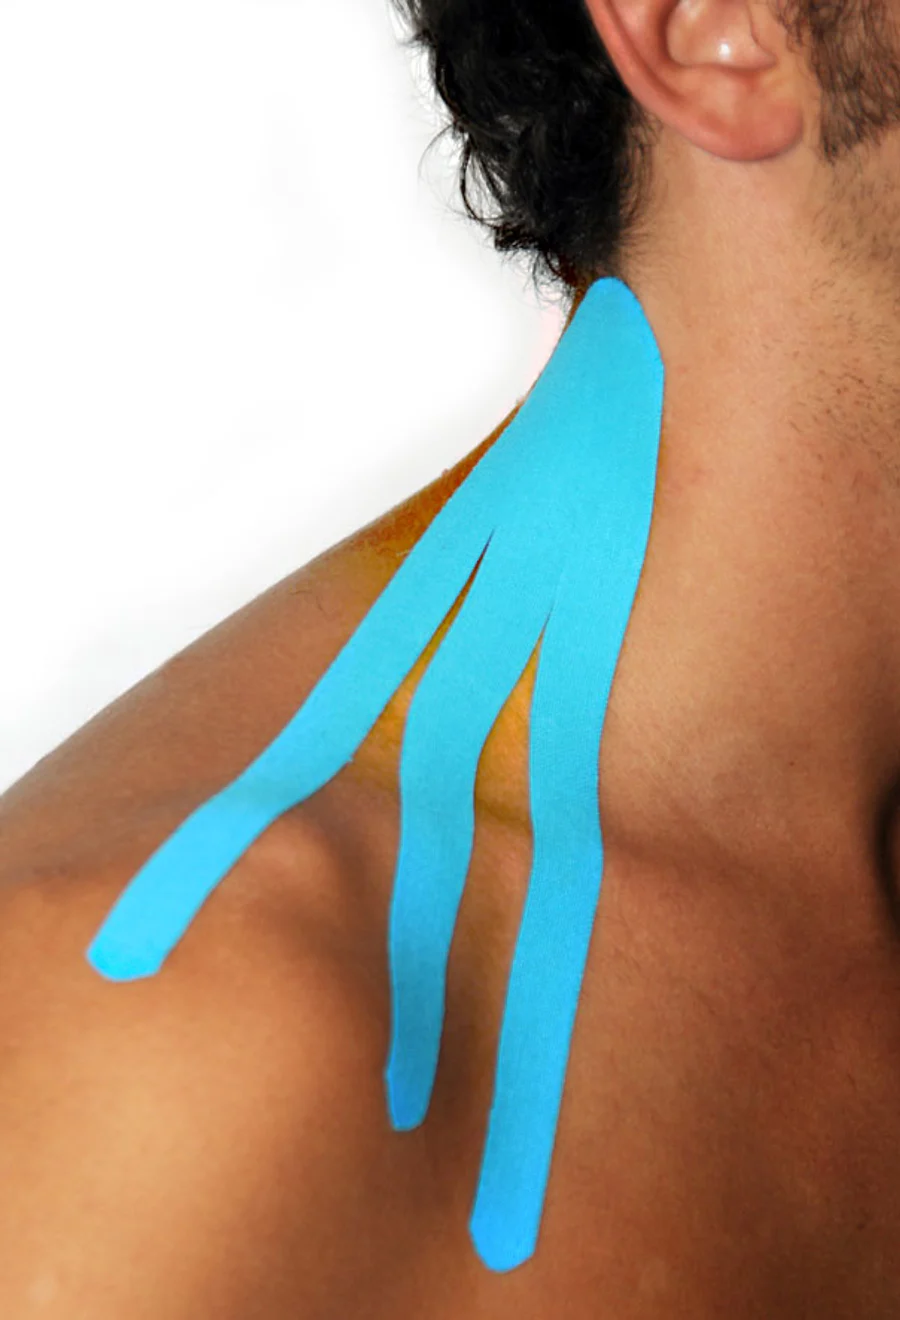
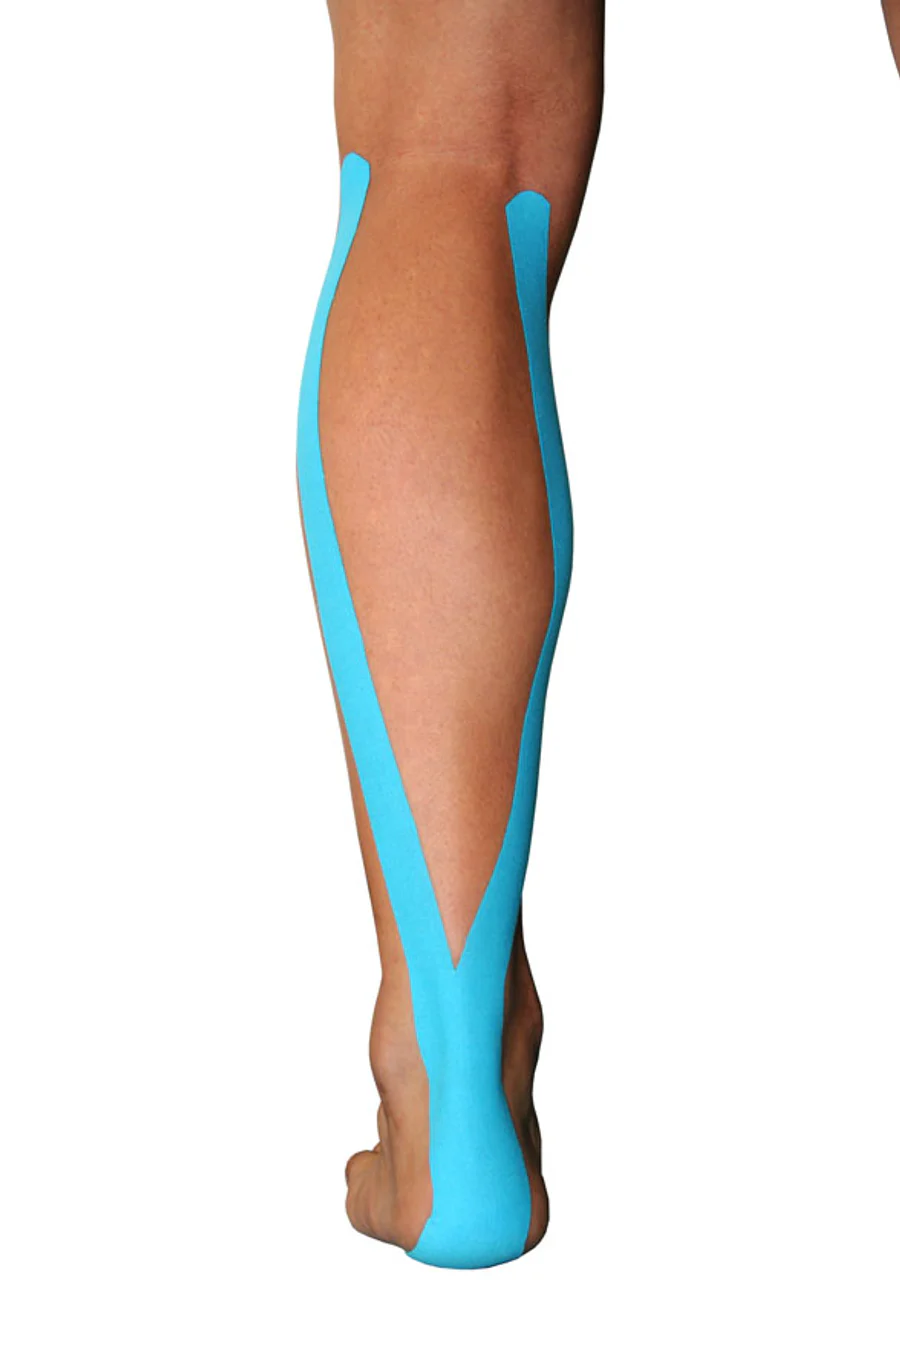
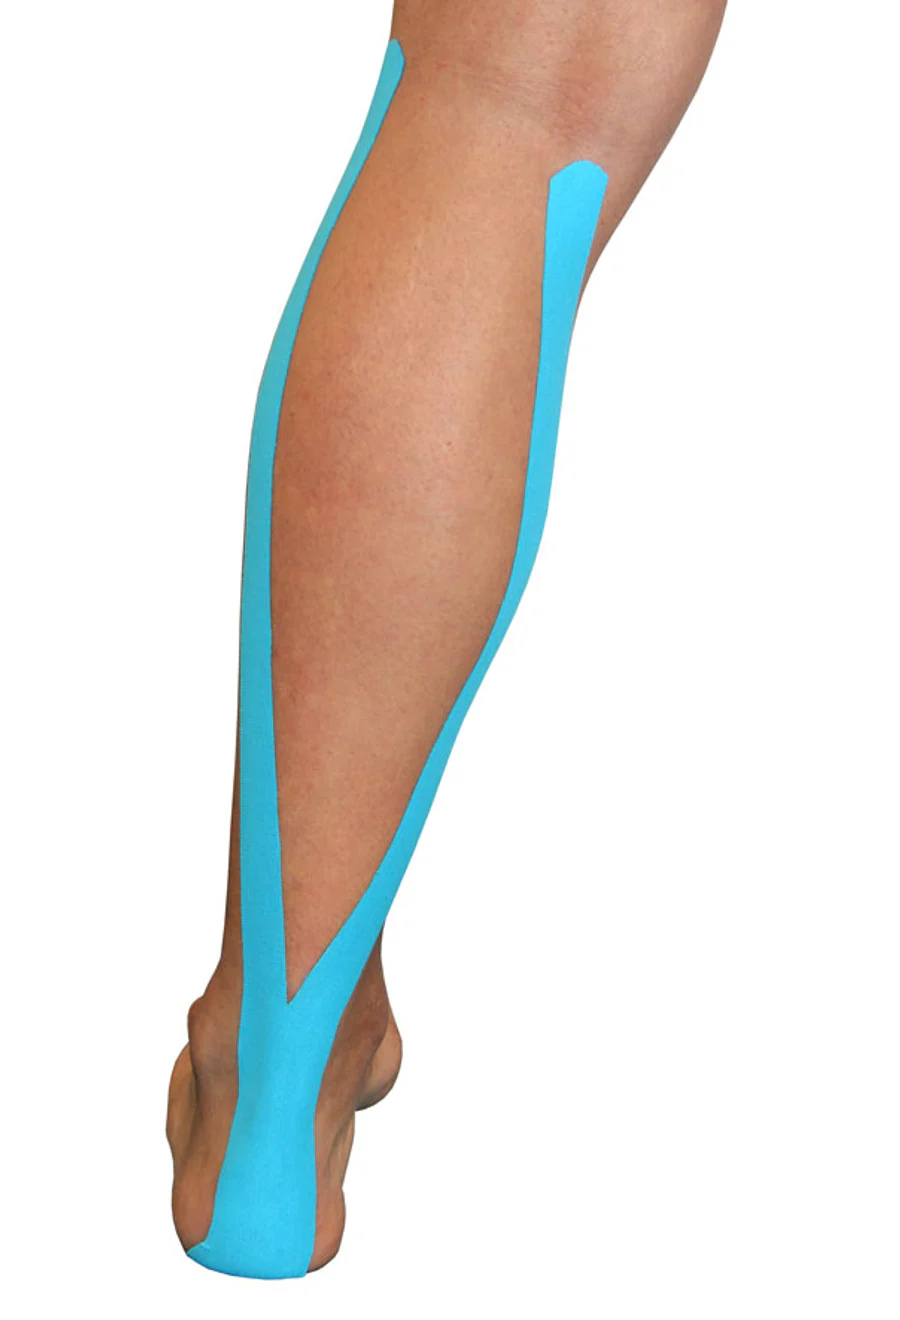
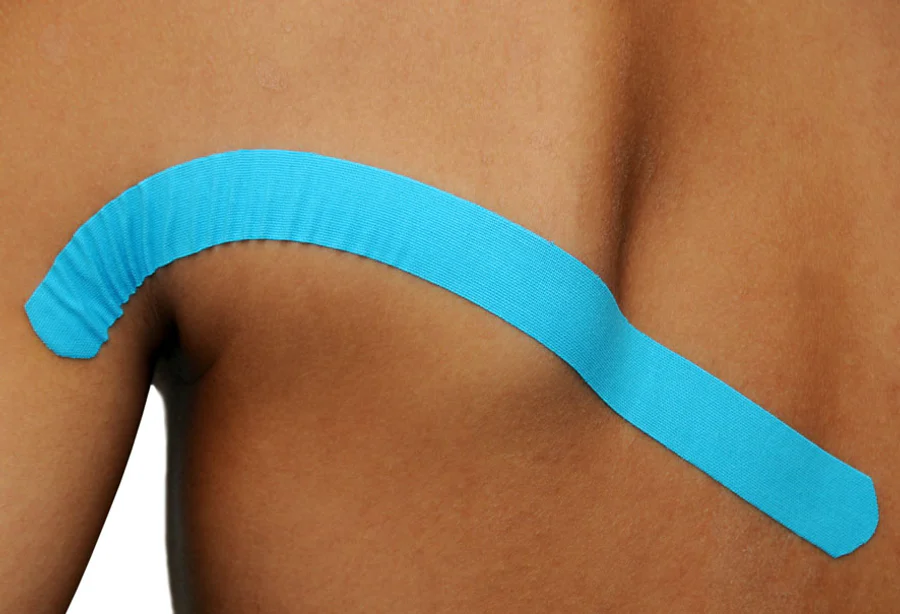
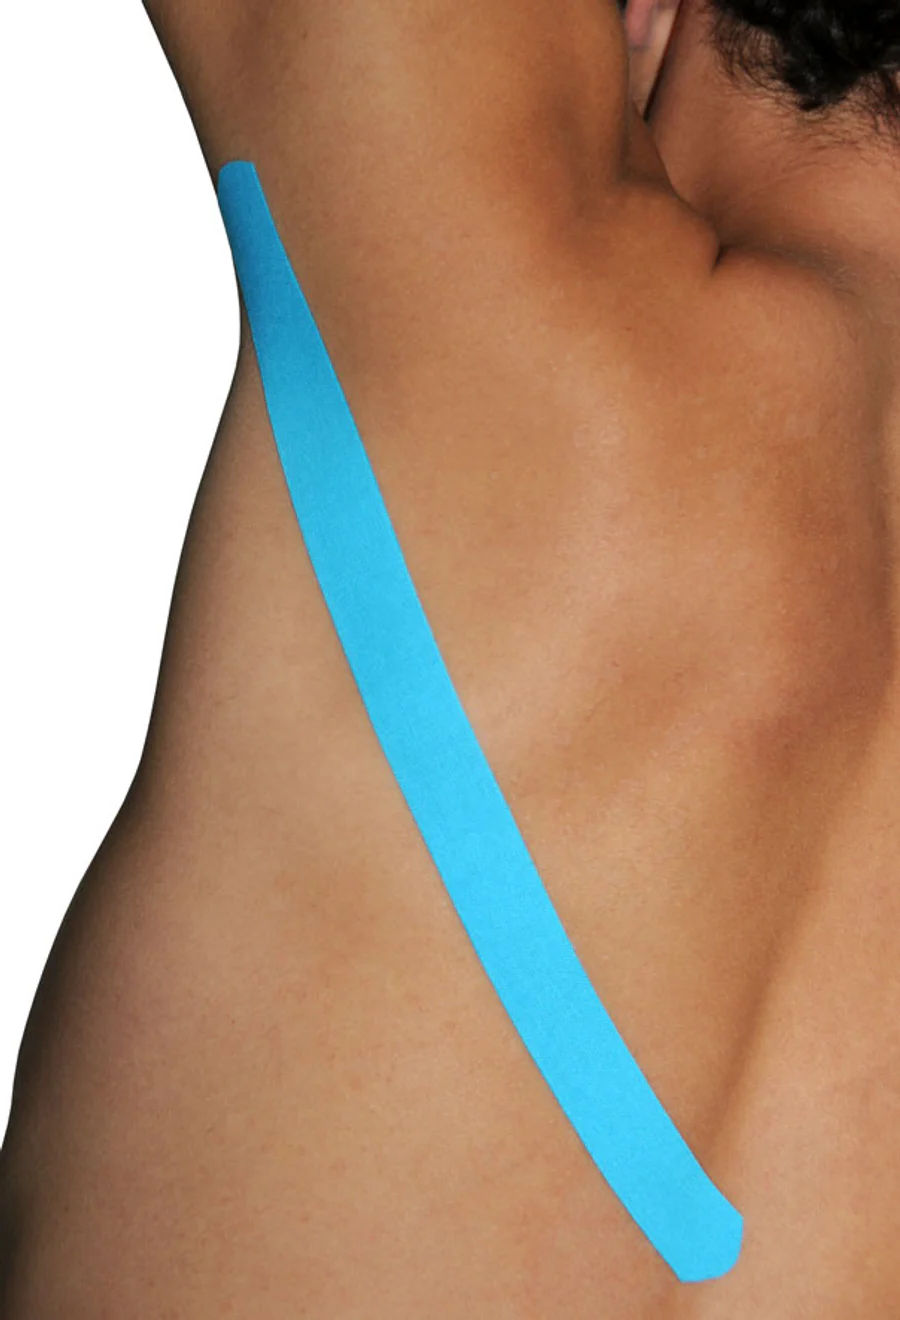
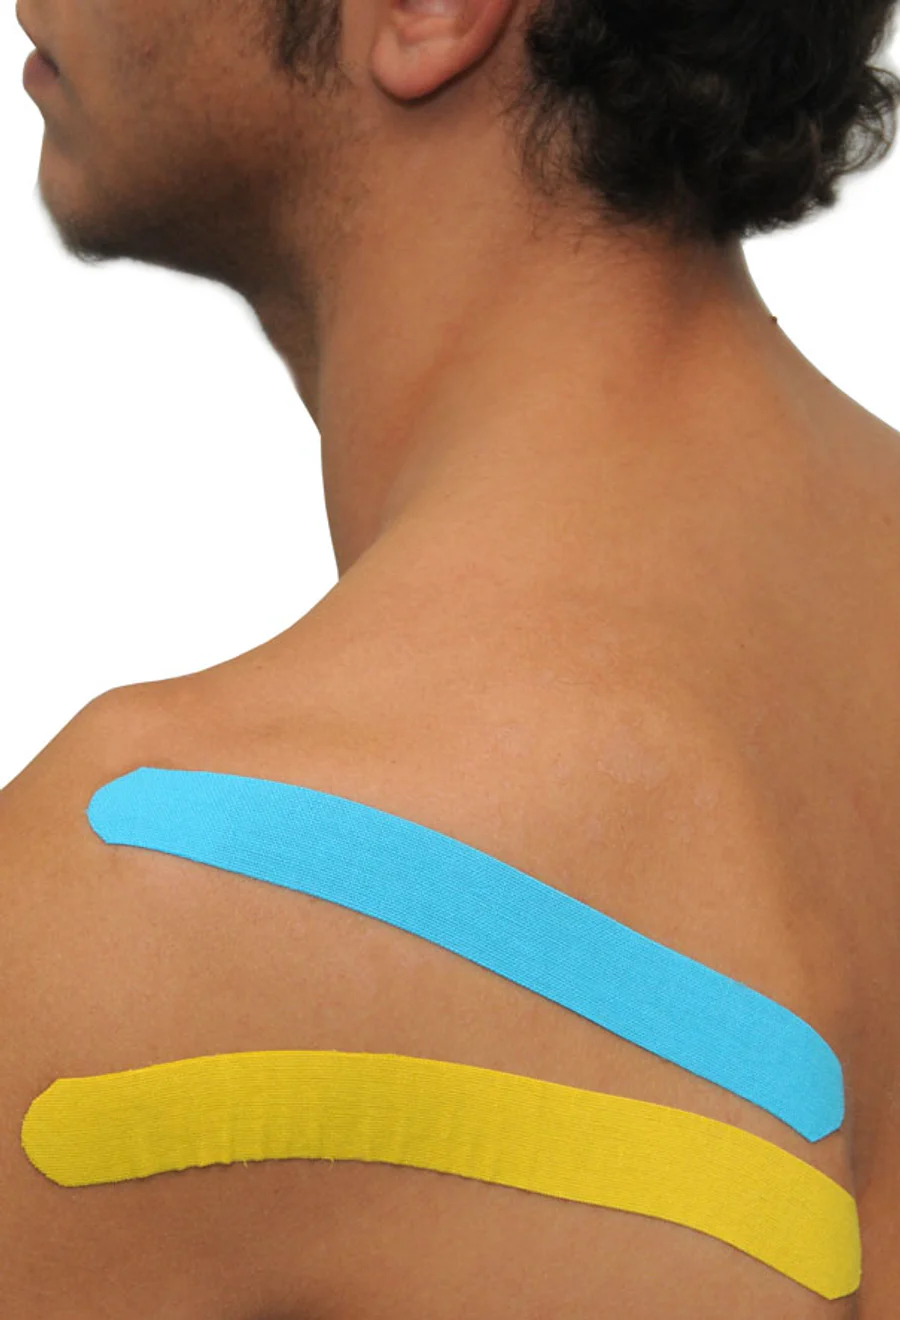
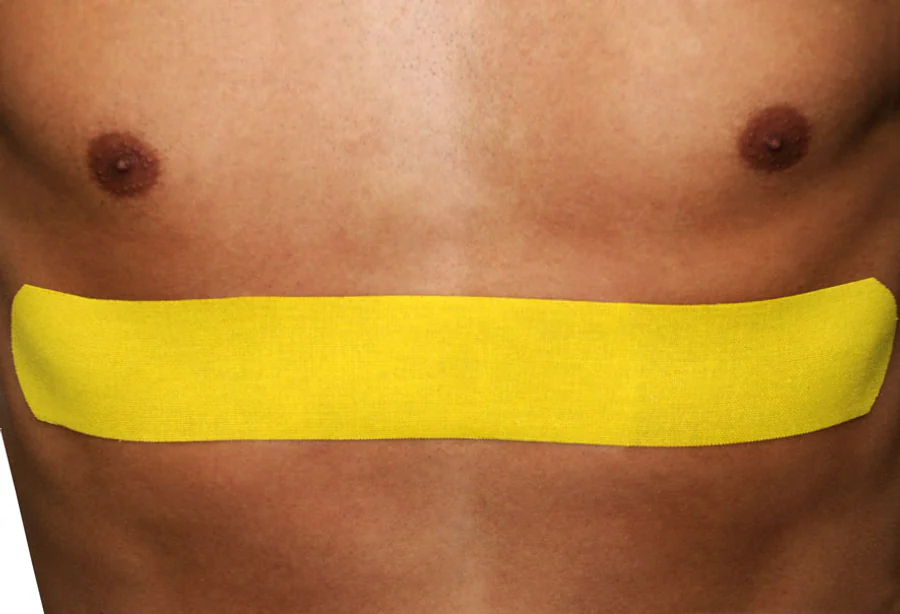
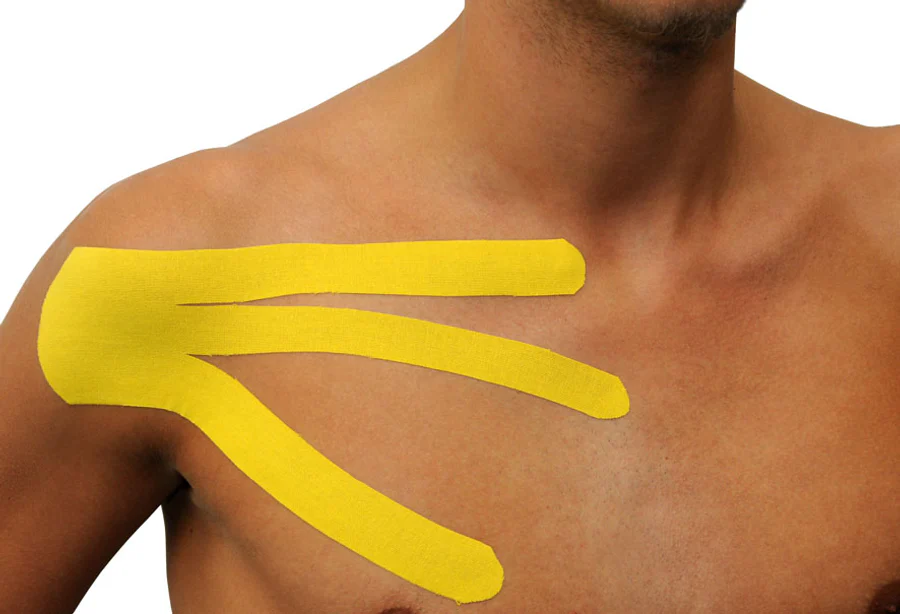
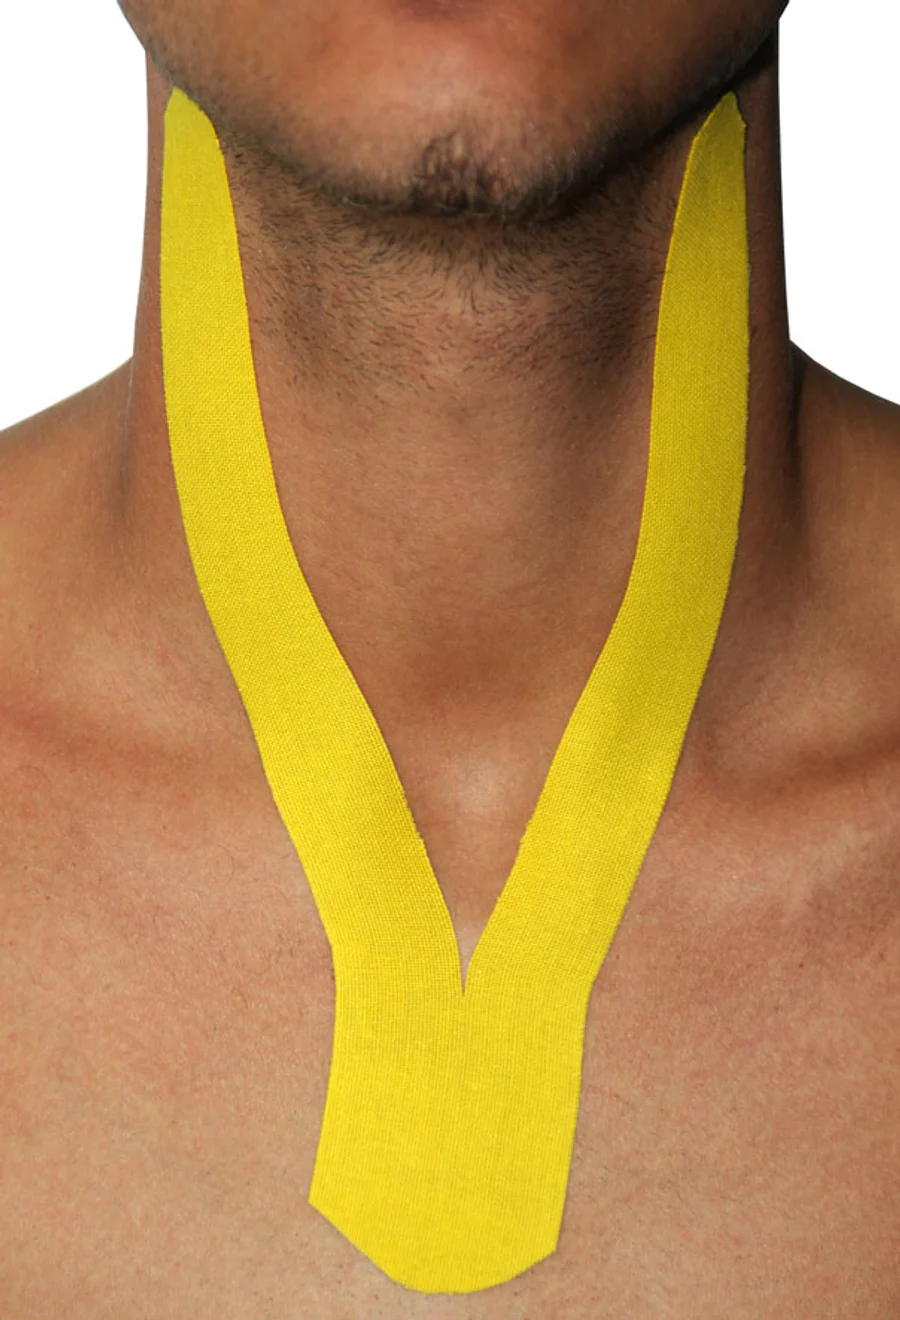
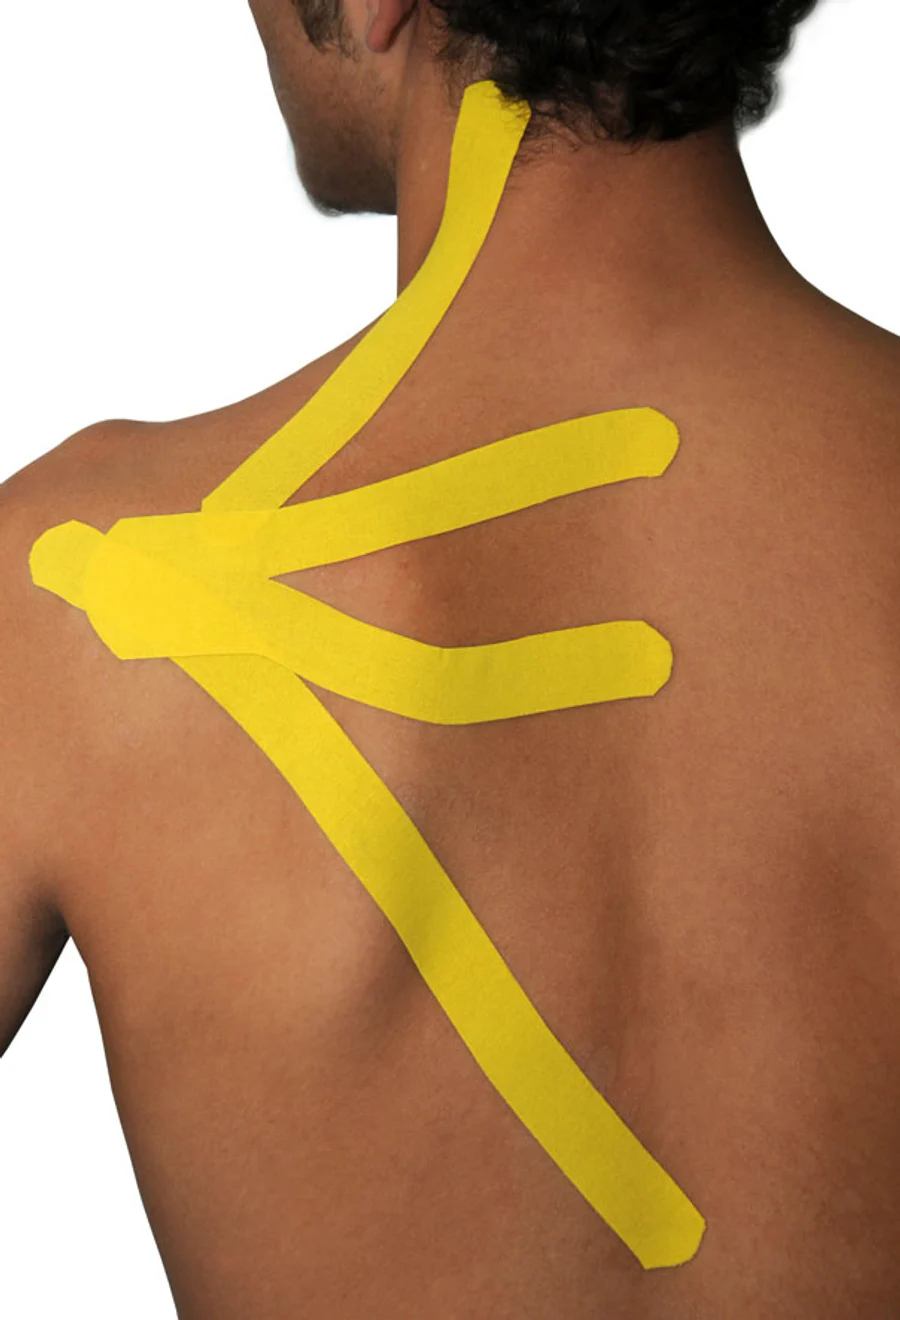
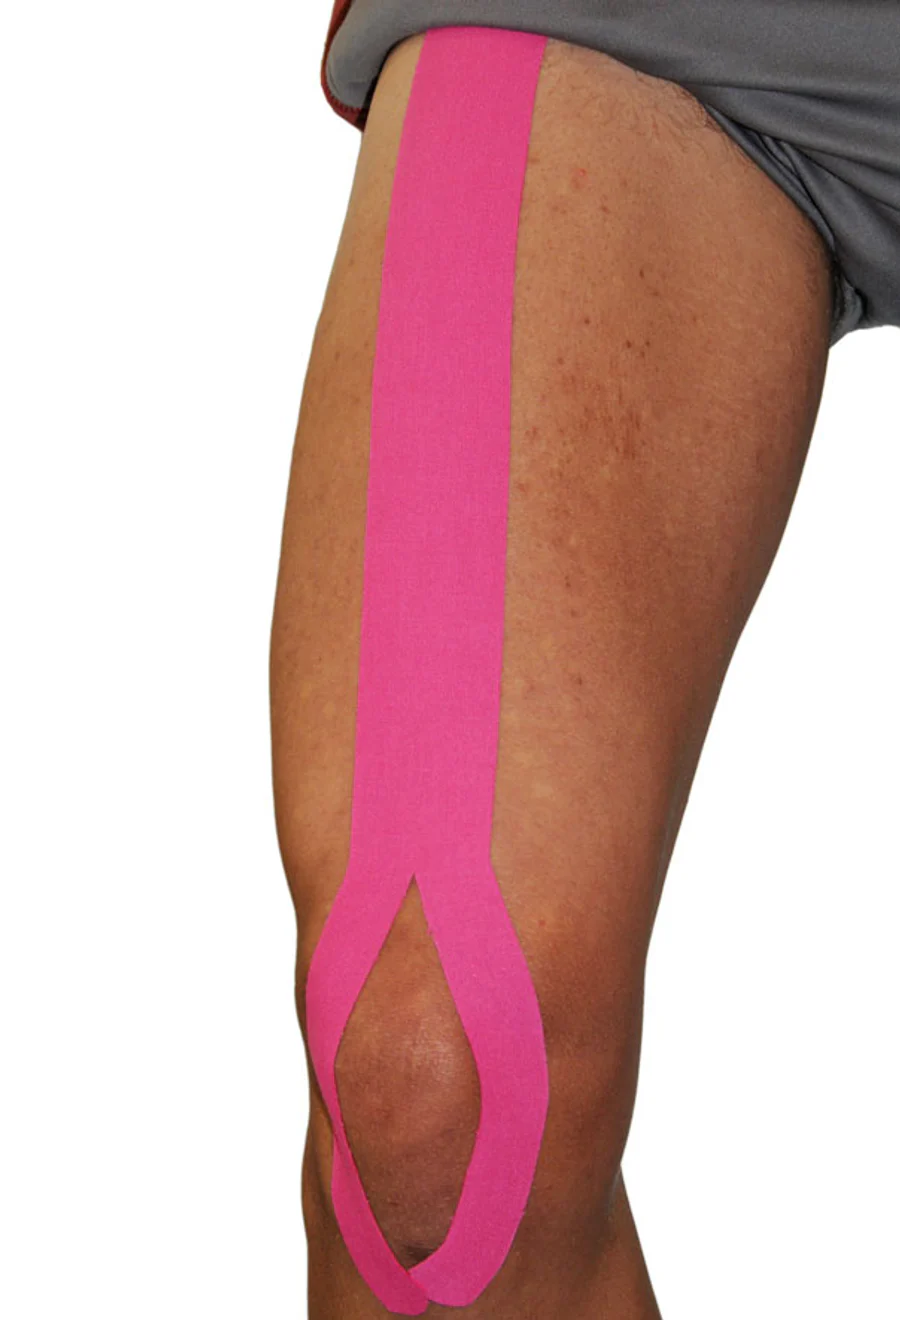
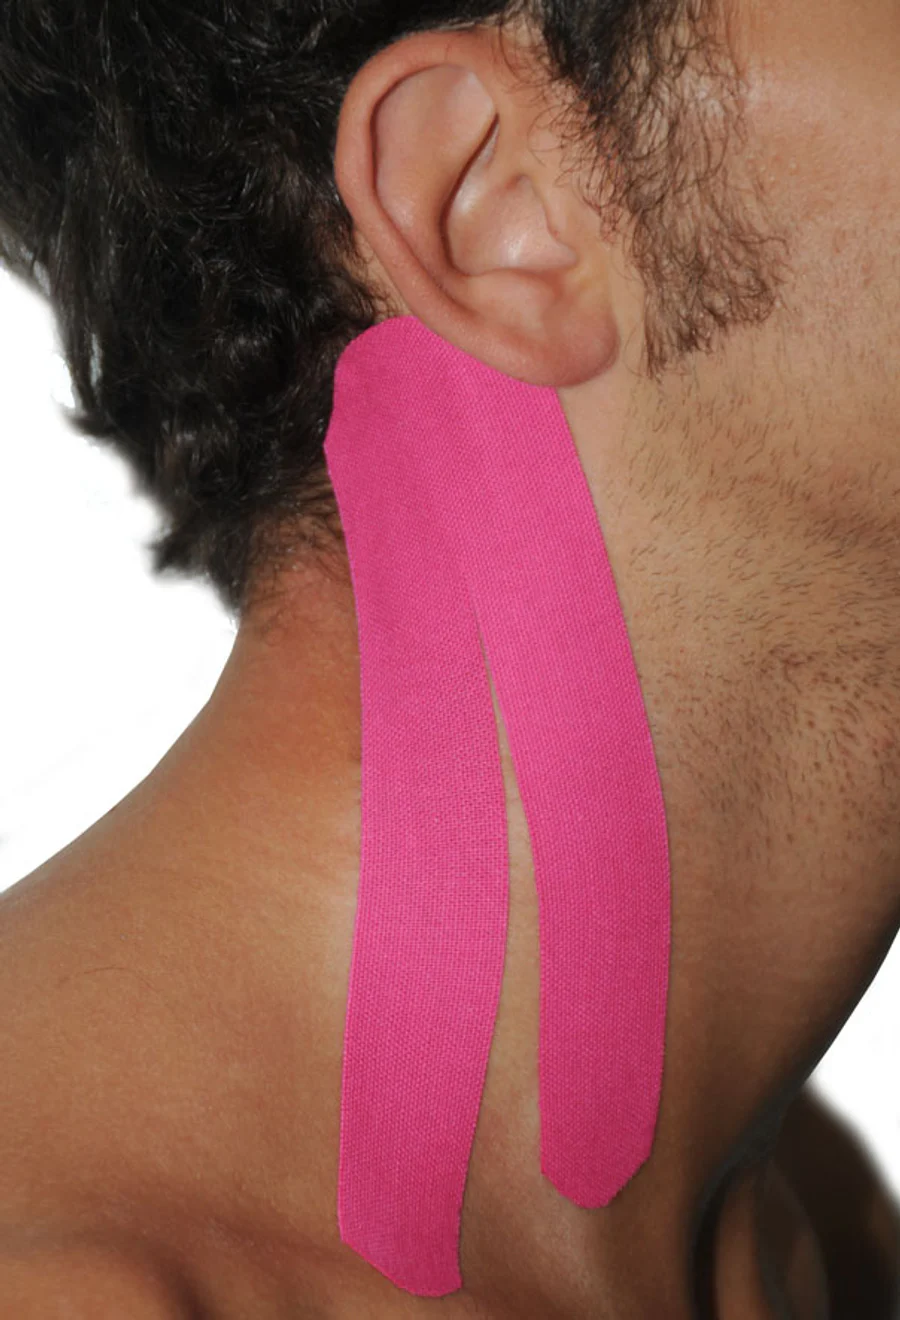
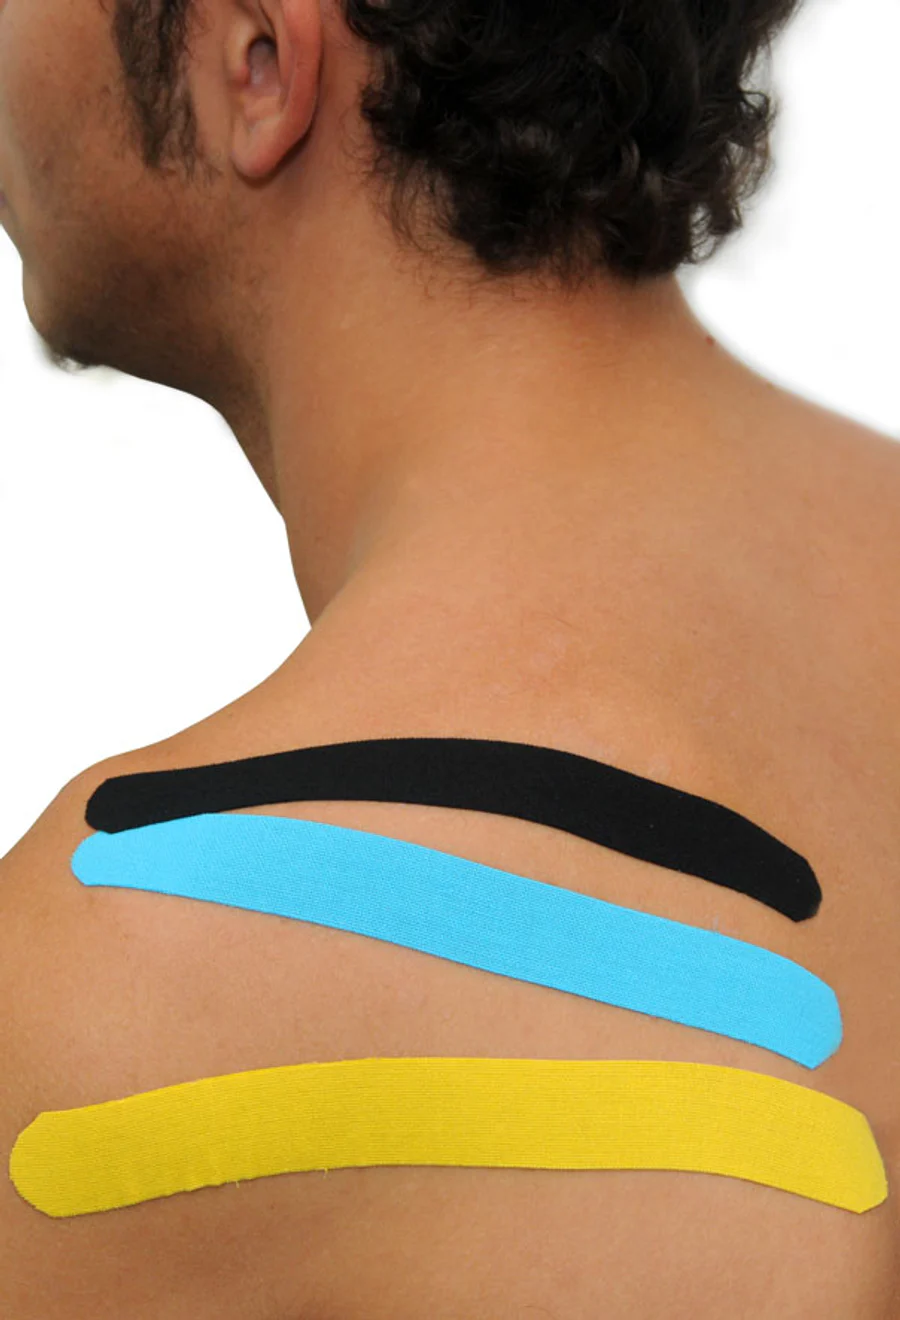
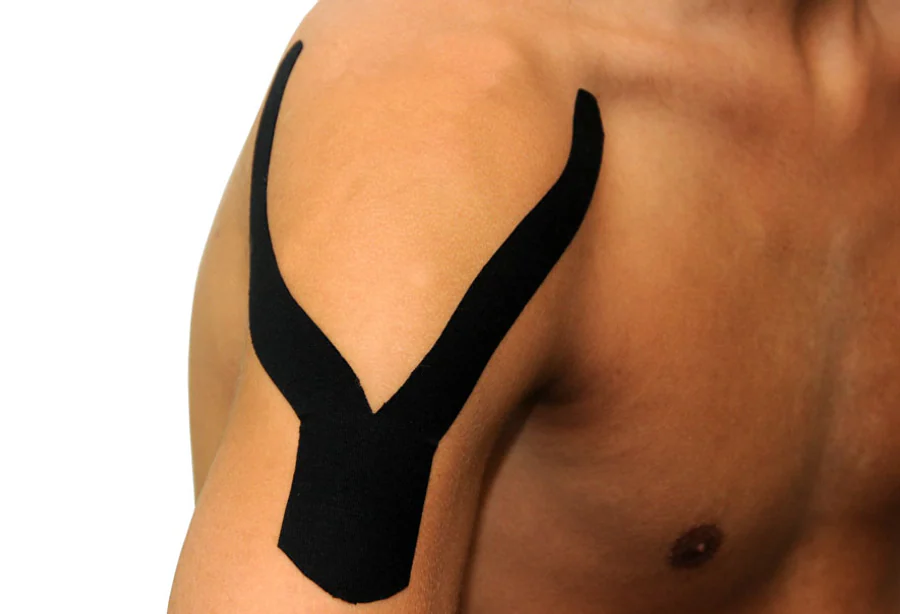
Before you begin
Dream K is elastic kinesiology tape. It does not restrict movement in the way rigid sports tape can. The direction, cut shape and applied tension all influence how the application is experienced. A medical or therapeutic application should be performed or instructed by an appropriately qualified professional.
Perform a patch test if in doubt
Apply a small test strip without additional tension to intact skin. Remove it immediately if an adverse reaction occurs. A “latex-free” claim does not exclude sensitivity to every other material.
Application in eight steps
- Define the objective first
Select the taping technique, shape, direction and tension on the basis of a professional assessment. General online guidance does not replace an individual treatment protocol. - Check the skin
Apply tape only to intact skin. For sensitive skin or an unknown response, first apply a small test strip and observe the skin. - Clean and dry
Remove oil, cream, sweat and dirt. Allow the skin to dry completely. Long hair may be trimmed carefully; shaving immediately before taping can increase irritation. - Measure and cut
Measure the required length without stretch. Cut the strip along the lines on the backing paper and round every corner to reduce catching on clothing. - Create an anchor
Tear or fold the backing paper so that you touch the adhesive as little as possible. Starting and finishing anchors are generally applied without stretch. - Use appropriate tension
Apply only the tension required by the chosen technique. More stretch is not automatically better and can increase stress on the skin. - Rub the tape
Rub the applied tape gently. Warmth and friction help activate the acrylic adhesive. Do not rub irritated skin aggressively. - Check and instruct
Check comfort, skin colour, circulation and freedom of movement. Remove the tape immediately if pain, itching, burning, blisters or increasing redness occurs.
When should you not apply tape?
Do not apply kinesiology tape to open wounds, active skin infections, severe skin irritation or an area with a known allergic reaction. Take extra care with fragile skin, reduced sensation, circulatory problems or when a person cannot clearly indicate how the tape feels.
Remove immediately if warning signs occur
Remove the tape if pain, numbness, discolouration, swelling, itching, burning, blisters or severe redness increases. Consult a qualified healthcare professional if symptoms persist.
After application
- Apply the tape preferably 30 to 60 minutes before exercise or showering.
- Gently pat wet tape dry; do not rub it hard with a towel.
- Trim only a loose corner when the surrounding skin remains calm.
- Check the skin every day, including along the tape edges.
Removing Dream K
If necessary, wet the tape or use a suitable tape remover. Support the skin with one hand and slowly roll the tape back with the other, keeping it low and moving in the direction of hair growth. Do not pull the tape quickly and vertically away from the skin.
Read more practical questions about Dream K